Templates Dialog
The Templates dialog allows you to manage application templates defined in the system configuration:
- import a template from an XML file;
- export a template to an XML file;
- edit, rename and copy a template;
- configure a template monitors list;
- set how a template is applied during discovery;
- delete a template;
- upgrade a template applications to the latest version;
- download community templates;
- provide community template feedback;
- publish your own templates to Template Community;
You can find a detailed description of the templates framework here.
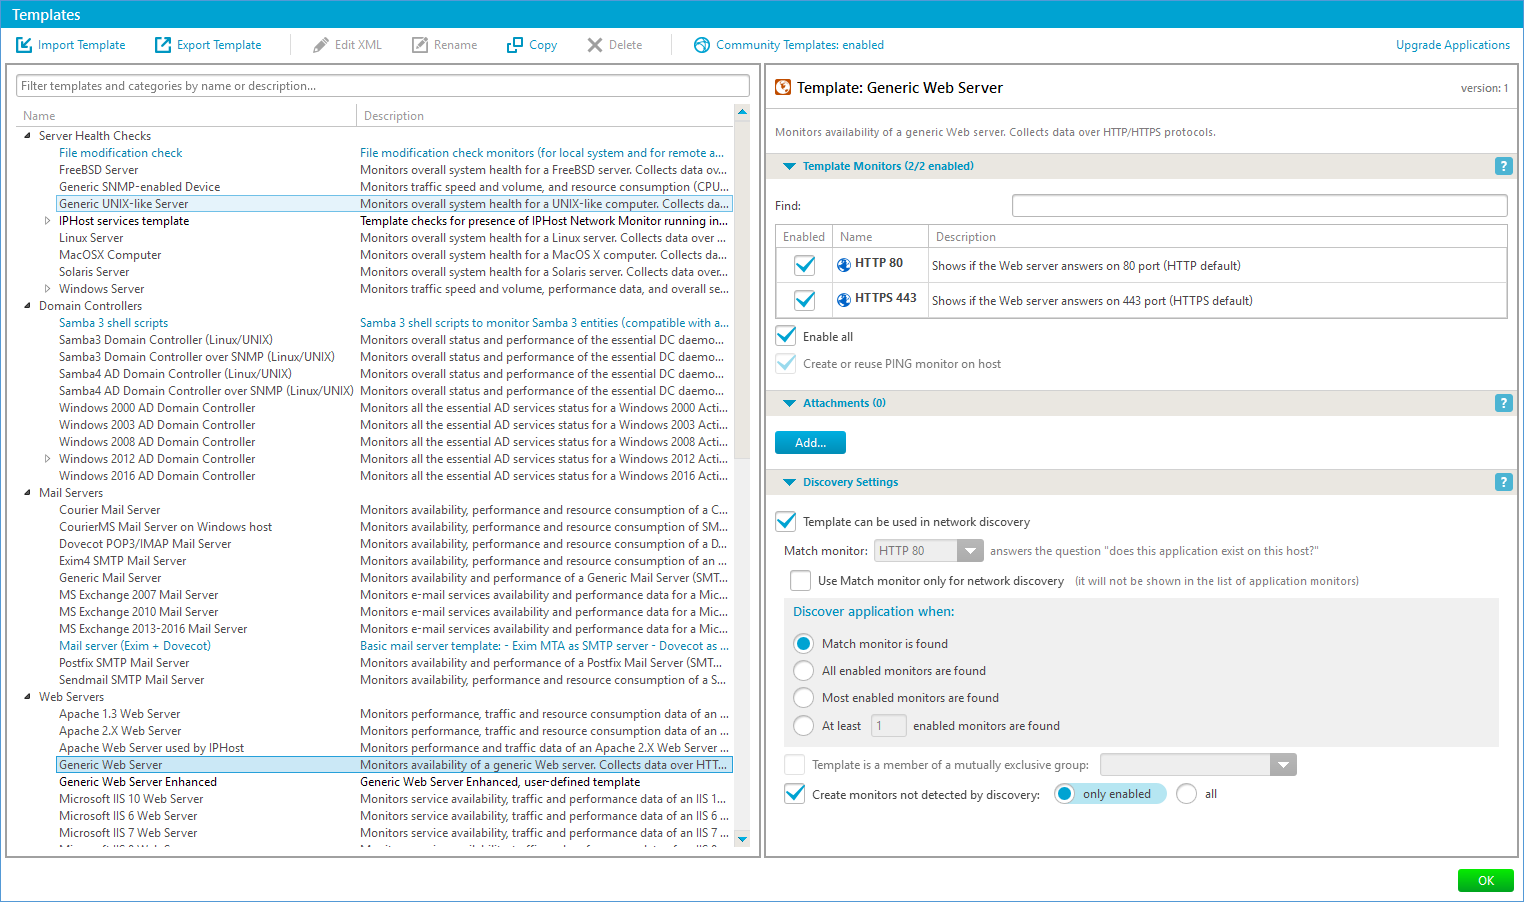
The left pane lists all the application templates defined in the system configuration along with their short descriptions. Templates are marked by different colors. The system templates are dark gray, the user-defined templates are black and the community templates are blue.
All the standard templates are divided into categories by their target applications, services or resources. You can add your custom template into any category.

The right pane shows the template parameters:
- Name, short description and version:


The template name must be unique within the monitoring system.
- Template Monitors section allows to enable or disable the monitors. The disabled monitors are not created if the template is applied to a host manually (via New Monitor Wizard). You can configure how to process disabled monitors during discovery in the Discovery Settings section. By default, only few monitors are enabled for each standard (predefined) template. You can review the predefined templates in this dialog and configure them at any time.
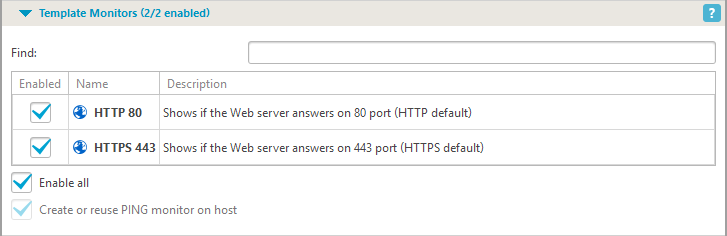
- Find field allows to filter the monitors list by a keyword.
- Enable all checkbox allows to enable/disable the entire list.
- Create or reuse PING monitor on the host checkbox allows to create an additional PING monitor on the host (if there is no one) or reuse the existing PING, and set the application monitors dependency to this PING monitor.
Note that not all the parameters of a predefined template can be configured. In the sample above the parameter Create or reuse PING monitor on the host can not be configured. All the parameters of a the user-defined and community templates can be configured at any time.
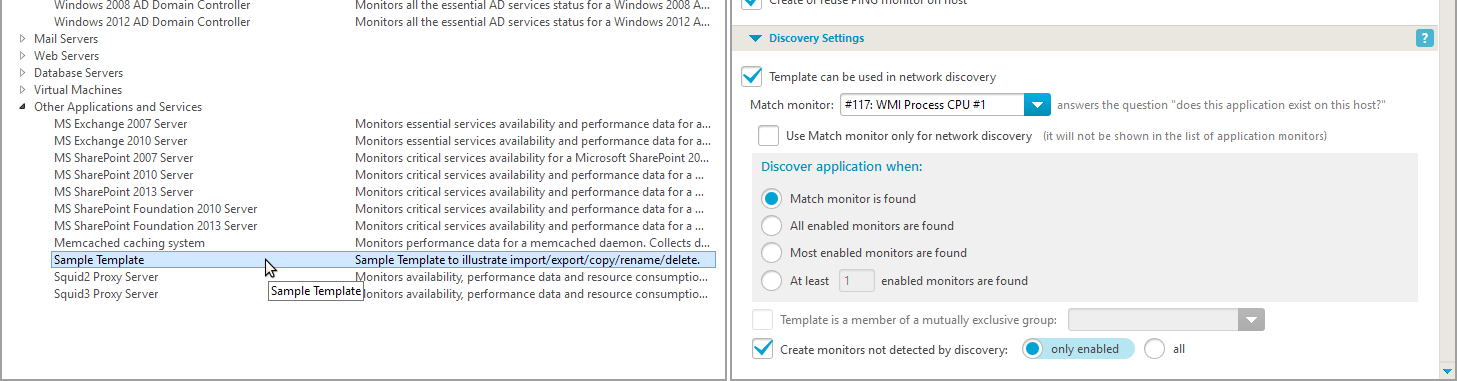
- Discovery Settings section allows to configure how the discovery process should find and apply the template.
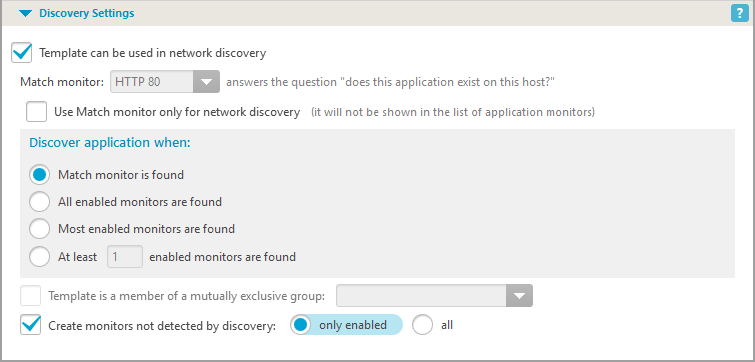
- Template can be used in network discovery checkbox allows to set if the template will be used in the automatic network discovery.
- Match monitor drop-down list allows to select the specific monitor that the discovery process uses to determine if this template should be applied to the host. By default, the discovery process tries to create the match monitor on the host, and if the monitor switches to OK state, the discovery process applies the template to the host. This parameter can’t be configured for the standard (predefined) templates.
- Use Match monitor only for network discovery checkbox if turned on specifies that the Match monitor will only be used temporarily for the discovery process and is not a part of the application.
- Discover application when: radiobutton area allows to specify when the template should be applied to the host during discovery.
- Mutually exclusive group checkbox/drop-down list allows you to select (or define) a template group that limits the discovery process: if one template from the group is already discovered on a host, then all other templates from this group will be skipped.
- Create monitors not detected by discovery checkbox/radiobutton area specifies what to do with the template monitors that are not discovered. A checkbox instructs IPHost to create such monitors, and radio buttons indicate which monitors to create. Such monitors look and behave differently from actually discovered monitors:
- if you choose not to start monitors added in course of discovery, such “not found” monitors are created in Stopped state, rather than Discovered state;
- if you choose to start monitors, they will remain in Stopped state as well because otherwise they would switch to Down state immediately after starting.
When such monitors are added, a message in the log panel indicates the reason for creating them.
- Attachments section allows to add, remove or edit attachments in template.
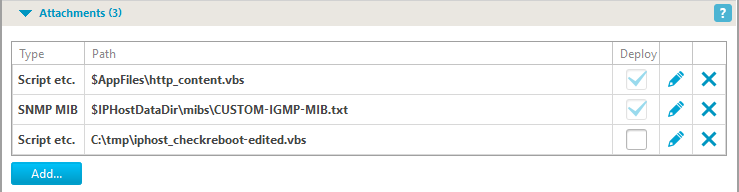
Number of attachments in current template is shown in the header of Attachments section.
Each attachment takes one row in the table with the following columns:
- Type is one of predefined attachment types:
- SNMP MIB for SNMP MIB files;
- Script etc. for all other attachments.
- Path shows where attachment will be placed and how it can be referenced from monitor settings.
- Deploy check box can be used to enable or disable deployment for attachments with custom path. Attachments with standard paths (“$AppFiles” and “$IPHostDataDir/mibs”) are deployed automatically.
- This column contains button for copying, moving or renaming attachment.
- Last column contains button for removing attachment.
After making changes to the list of attachments you will have to save updated template or abort changes before leaving this template or closing Templates dialog. If you changed attachments in custom template then before saving it you will be prompted to increase template version with a dialog:
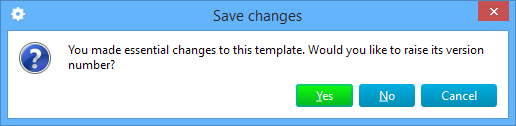
If you anwser with “Yes” then template will be saved in database with new version and old version will be marked as outdated, and if you answer with “No” then it will overwrite existing template.
If you press a button for editing template attachment, you will be presented with the following dialog:
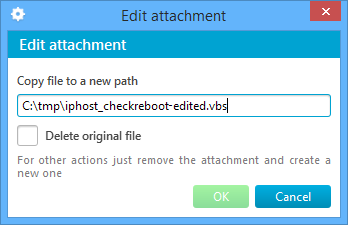
There you can select new name and path for this attachment and also choose if you want to delete original file after copying.
If you press a button for removing template attachment, it will be removed from template.
You can add new attachments to the template by pressing Add button in Attachments section. You then will be presented with the following dialog:
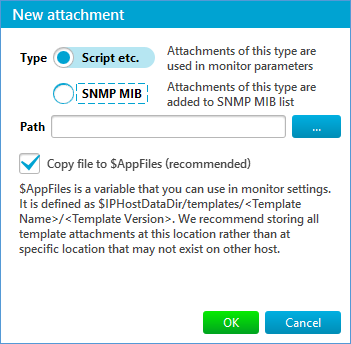
There you can choose type of attachment, select one of existing files from file system and also decide if you want to copy this attachment to standard directory. Standard directory for scripts is “$IPHostDataDir/templates/<template name>/<template type>/<template version>” and standard directory for MIBS is “$IPHostDataDir/mibs”. Template type there can be either “standard” or “custom”.
After importing template with attachments, those attachments that are not copied to standard directories will not be deployed automatically. You can deploy such attachments manually by enabling “Deploy” checkbox for them in Attachments section of Templates Dialog.
- Type is one of predefined attachment types:


The dialog toolbar provides the following functions:
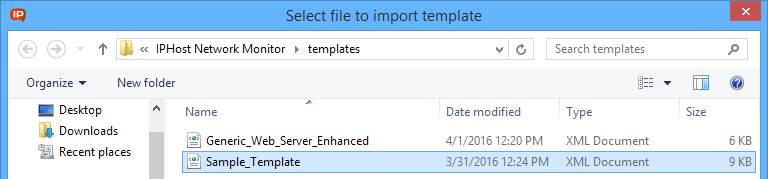
- Import template button allows to add a template defined in an XML document to the system configuration. By default, the Open File dialog opens in the ‘%ProgramData%\IPHost Network Monitor\templates\’ directory if you click this button:
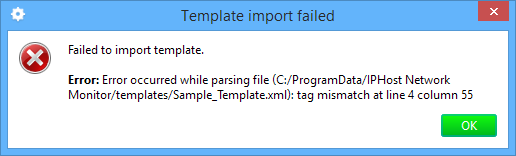
You will receive an error message if the XML document is invalid:
A correct template is added to the system configuration and can be modified and applied. Note that all the user-defined and community template parameters are available for configuration.
You can create a template with a name that matches the name of a standard template. In this case your template will be marked by a ‘(custom)’ keyword in the templates list:

- Export Template button allows to save an existing template to an XML document. The ‘%ProgramData%\IPHost Network Monitor\templates\’ directory is used to save an XML file by default.
- Edit XML allows you to edit a user-defined and community template in a simple text editor. Note that you can’t edit a standard (predefined) template.
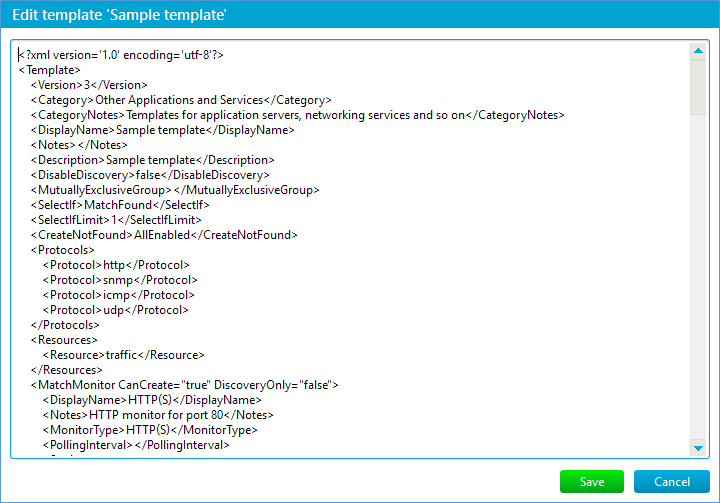
For example, you can create a new templates category by editing the <Category> value in the template XML file before importing the template into the system configuration. The new category will be added into the templates list and you will be able to add templates in the category.
- Rename button allows you to rename a user-defined or community template.
- Copy button allows you to copy any template:
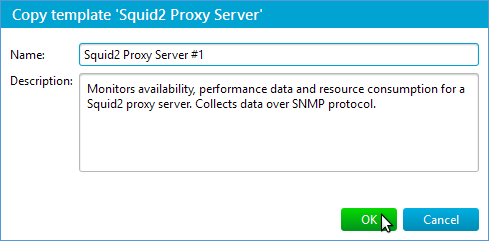
You should specify a unique name and can modify the new template description.
- Delete button allows you to delete a used-defined template. Note that you can’t delete a template that is applied to a host, and you can’t delete a standard template. In order to completely remove a user-defined or community template that is applied to a host you need to remove an application (with all its monitors) first. Close the dialog, switch to the Tree view, select the application in the tree and click Delete button on the program toolbar. You can delete the template only after all the applications created from the template have been removed.
- Community Templates button opens Template Community settings. This dialog duplicates the Community Settings page.
- Upgrade Applications link allows to upgrade all the legacy applications to the latest version.

After the “Upgrade Applications” link is clicked a menu with 3 items opens:
- upgrade the chosen template application
- upgrade all the applications based on the templates in the selected group
- upgrade all the applications
After the action is selected a dialog window appears, it allows to select the applications to upgrade.
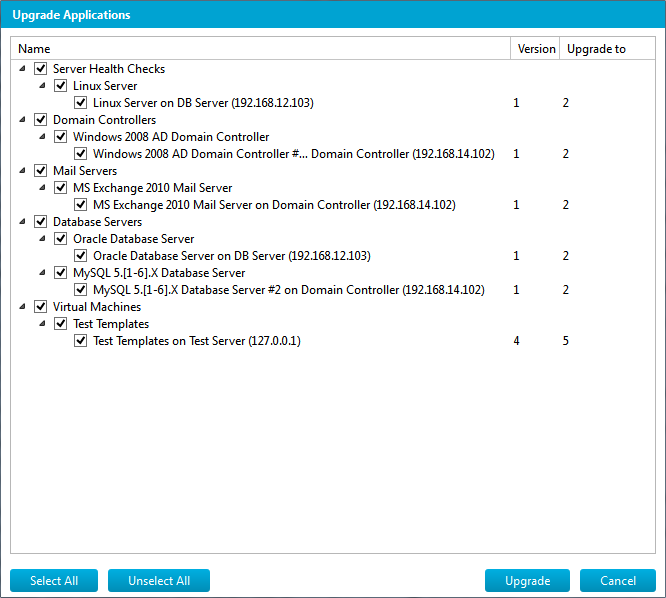
You can select which applications you want to upgrade.
You can learn more about procedure of application upgrading here: Upgrade Application.


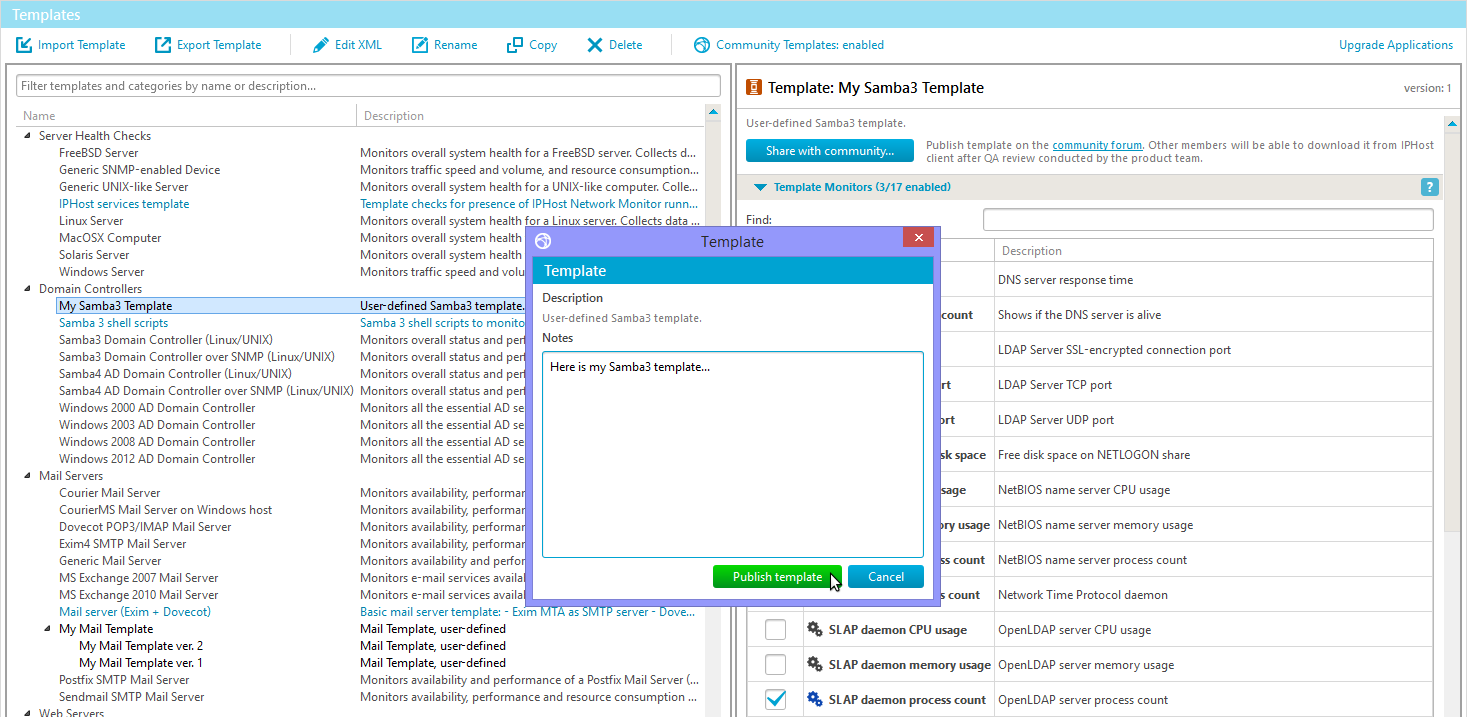
Community templates are very similar to user-defined templates, but have some additional options. First of all, you can publish your own user-defined templates to Templates Community:
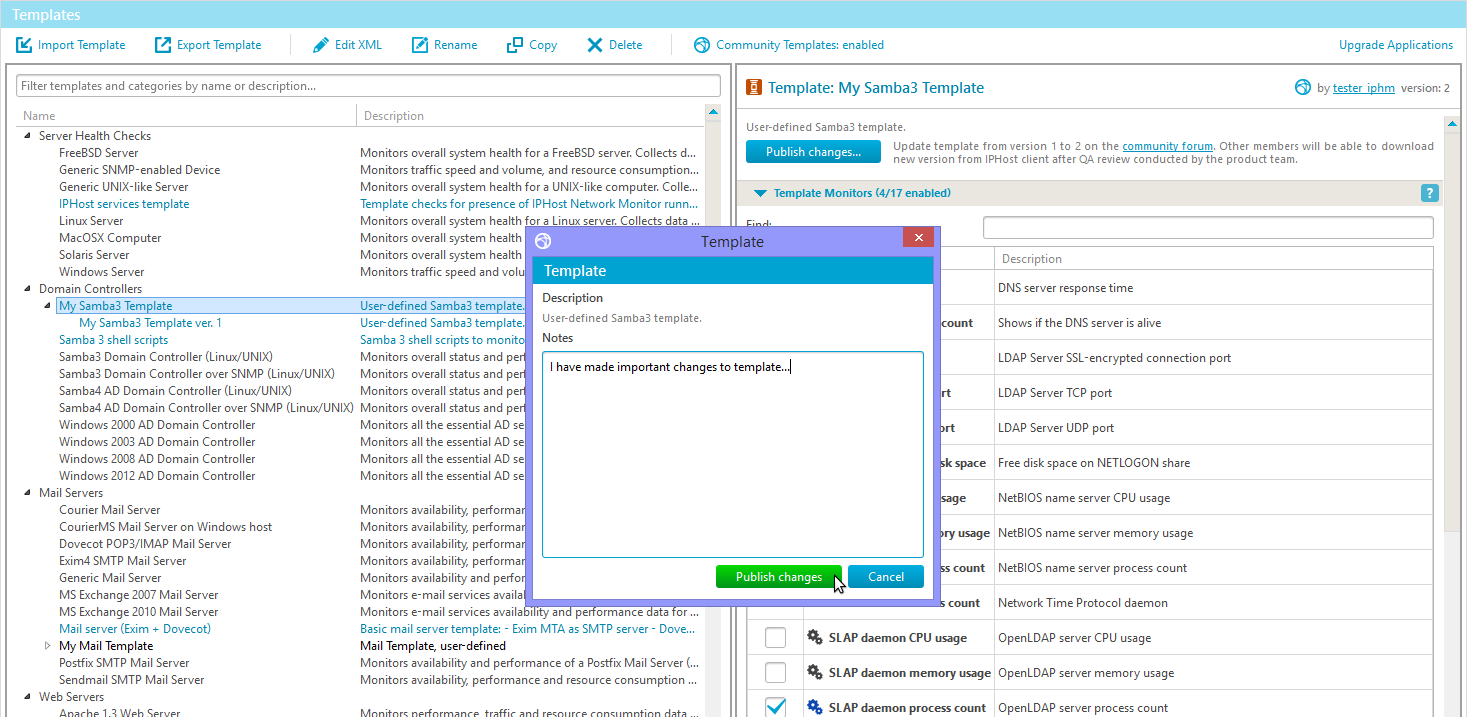
This feature is available for registered users only. You can register or login on the Community Settings page. You can upload changes to your template that has been published already:
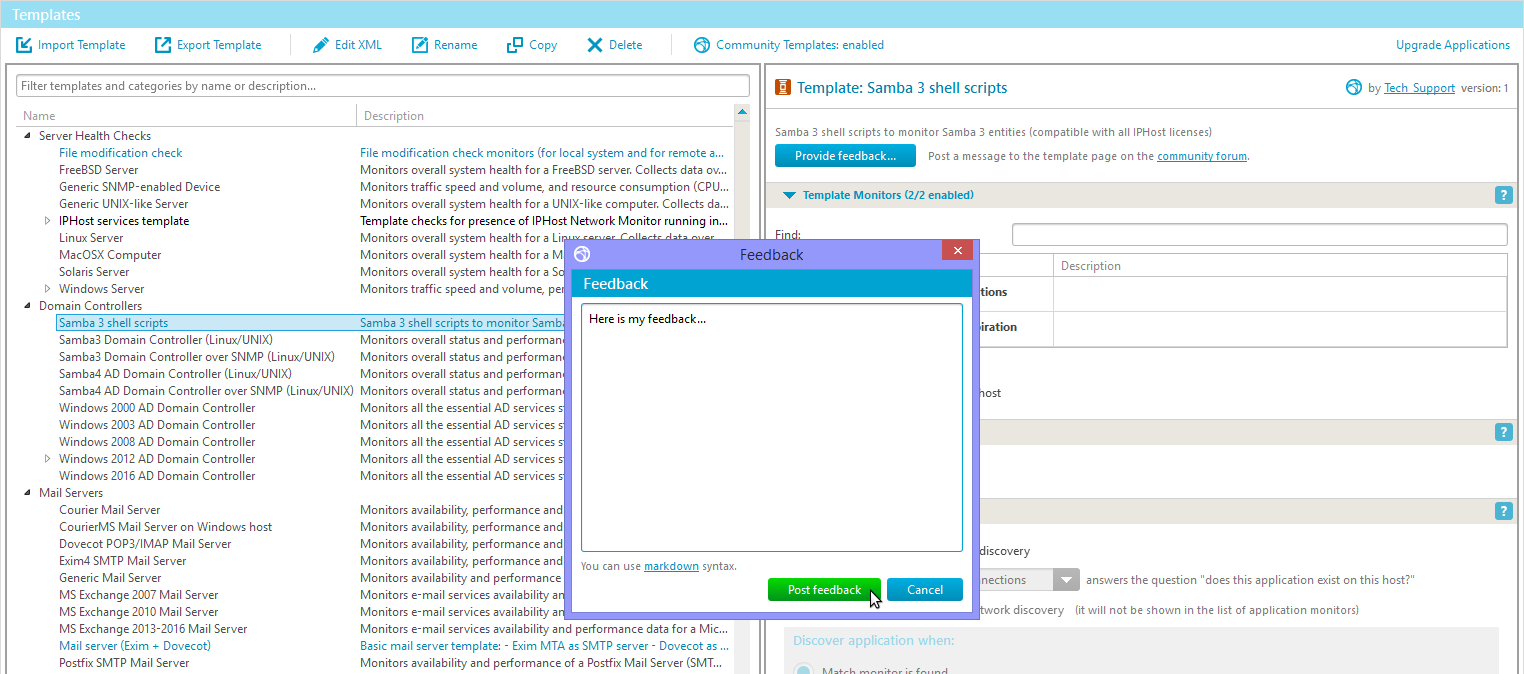
You can post feedback for community template (registered users only):
You can’t create two templates with the same name and version number. However, if you need to update an existing user-defined or community template, for example, to add new monitors to it, you can modify the original template XML file (add new monitors) and increase the template version number: ‘<Version>2</Version>’. After that you can import the template from this modified XML file and get the template with two versions:

Only the latest version of the template is used in the discovery process and can be applied to a host manually. However, if an application has been created from the older version, it remains as is. The monitoring service removes old unused templates from the system automatically.
Community templates also have versions:

You can receive new approved versions from the Template Community automatically or download them right now (by clicking Download now button on the Community settings page).